|
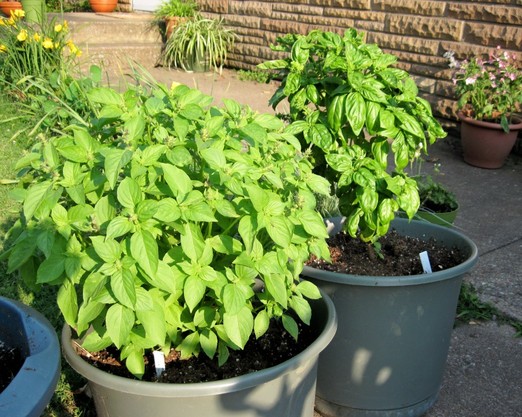
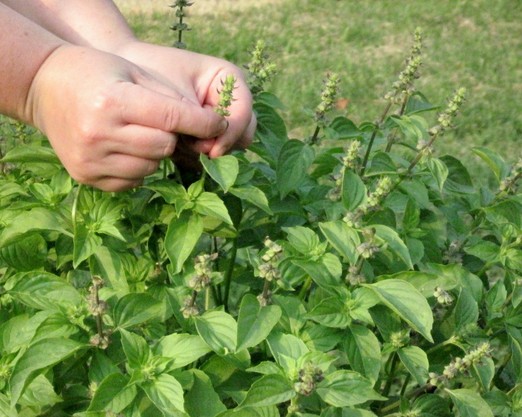
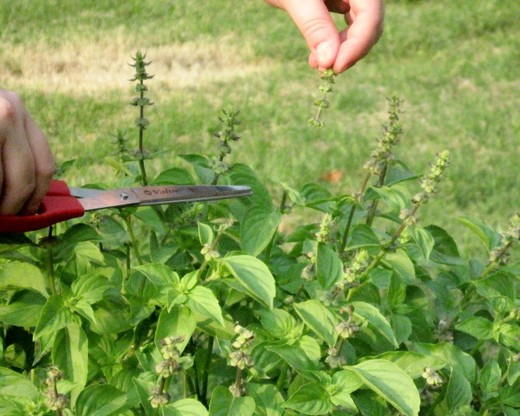
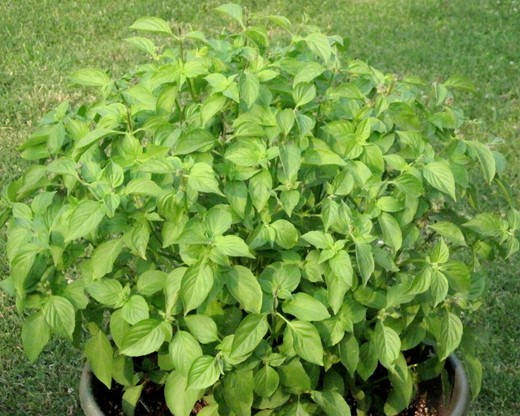
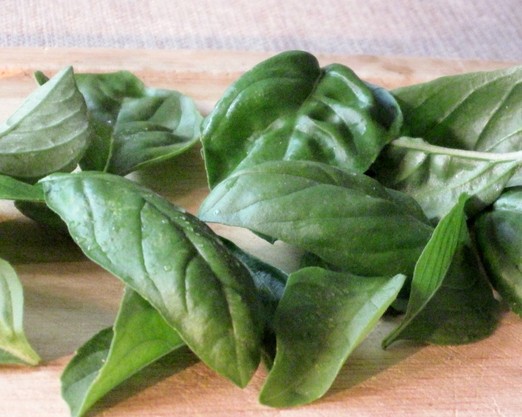
Growing your own herbs is the easiest and most beneficial type of edible gardening you can do on a small scale. You don’t need much space, time, or money to grow herbs, and if you like to cook, you will use them nearly every day. Basil is one of my favorite herbs. I am currently growing two types, Genovese and lemon, and I use them all the time. Yesterday, I put torn basil leaves all over my delivery pizza. See, you don’t even have to cook to use garden herbs. These tips are for growing basil both in containers and in the ground. I’ve successfully grown basil using these guidelines in diverse climates all over the country- south Texas, the Pacific Northwest, and southern Illinois. 1. Buying soil and a pot, if you’re growing in containers a. Any purchased potting soil will do, as long as you amend it (see below). b. Use a large container. Sometimes I see articles about growing herbs that show basil plants in little 6” or smaller pots. This will not do if you want to harvest regularly. Small pot = small plant. Basil grows big roots, and needs lots of space for them; otherwise, you’ll end up with a 6” tall plant from which you can get 1 tablespoon basil a month. That’s not even worth it to me. Currently, my basil plants are in pots that are 14" tall and 16" in diameter. 2. Amending the soil, in pots or in the ground a. Compost: To amend your soil, add compost. There are many other things you can add, but compost is a good all-purpose addition that will greatly boost the nutrients in your soil. b. Mycorrhizal fungi: Another thing I like to add is mycorrhizal fungi. These fungi form symbiotic relationships with plants, helping plants absorb nutrients and protecting them from disease and drought. 3. Buying basil starts a. Basil takes a long time to grow from seed, but grows fast once it gets going. For seeds, you need to start indoors before the last frost. I tried this once, got frustrated by the length of time it took, and have bought starter plants ever since. b. Time of year: starts will become available early- to mid-March in most places. c. Locations to buy: farmer’s markets, nurseries, and superstores with garden centers. If you want organic starts, farmer’s market and nurseries are your best options. You can always buy nonorganic starts and then grow them organically. d. Types of basil- There are bazillions of varieties. I like them all. I usually grow one standard, common variety, like Genovese or sweet basil, and then another more unusual variety, like lemon, Thai, or purple basil. e. Choosing plants: To choose between varieties, pinch off little leaves to sniff and/or taste. Purchase plants that look healthy, with deeply colored leaves and no holes or raggedy edges. Sometimes, you can find a pot for sale that accidentally has two plants growing in it. 4. Plant maintenance a. Full sun: Your plant needs at least 6 hours of sunlight daily. b. Fertilizing: I use fish emulsion almost exclusively. This is an organic product made from the byproducts of fish oil and fish meal. It stinks something awful. However, it’s a fabulous fertilizer. Mix it with water and apply every week or two. c. Pinching off the flowers: Do not let your basil plants grow flowers. Once they flower fully, the plants will stop producing new leaves, devoting all their energy to making seeds instead. Then they die. Pinching off the flowers keeps the plant growing and making new leaves. You can do this with your fingers or with a scissors. There are photos showing both techniques. In a couple photos, you can see that the basil plants have begun to grow many little flower stalks. Then, in the close up of my lemon basil plant, you can see how it looks when all the flowers have been removed. Keep on top of this task or it will get out of control and hard to manage. Your plant will become all flowers and few leaves. d. Pruning: When you’re harvesting basil or pinching off flowers, keep your eyes open for leaves that are yellowing or have holes. Cut them off and discard. This will keep your plant both pretty and healthy. e. Watering: How often will depend on your climate. In southern Illinois and south Texas, we have to water nearly every day in the summer. Keep the soil moist, but let the topmost part of the soil dry out between waterings. Just don’t let it stay dry. If you notice wilting, water as soon as possible, preferably immediately. It’s best to water in the morning or evening, when the water will not evaporate as quickly. If you water while the sun is out, or is going to be out soon, be careful not to get the basil leaves wet. Wet leaves will burn in the sun. f. Pests: I’ve never had a problem with pests bothering my basil. Basil detracts certain pests, like asparagus beetles, mosquitoes, and flies. 5. Harvesting
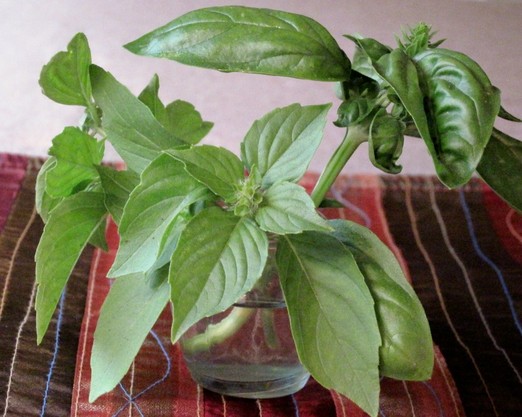
a. To keep the plant going all season, just trim off single leaves here and there, rather than cutting off sections of the plant. Never cut off all the leaves though! Leave a bunch so the plant can continue collecting sunlight and growing. b. Harvest early in the day for the best flavor. c. Use right away. One of the benefits of growing it in your own yard is cutting it immediately before use. d. Choose deep green leaves for eating. 6. Storing a. Single leaves of cut basil don’t store well. In a sealed plastic bag with a piece of paper towel inside to absorb moisture, they will keep 1 to 2 days. b. If you anticipate needing to store basil, you can harvest by cutting off small sections of the plant (about 6 leaves on a single stalk). Cut it so that you have a couple inches of leaf-free stalk at the bottom. Then put the stalks in a cup or vase with water, like you would with cut flowers. Make sure the leaves are not in the water, just the stalk. The basil will keep in the fridge this way 3 to 4 days. Replenish the water if necessary. c. You might want to freeze your basil. At the end of the season when it looks like my basil plants are on their last legs, I harvest all the remaining leaves and freeze them. Remove all leaves from their stalks, wash them, dry completely, and put in freezer bags in single layers. Frozen basil isn’t especially pretty, so should only be used in cooked applications.
1 Comment
|
AuthorMy name is Hillary. This blog is about the everyday food I prepare in my kitchen, with tips and recipes for easy, wholesome, and diet friendly meals. I have been chanting "cheese please!" since I was a toddler, although lately I've cut back on dairy. Archives
June 2018
Categories
All
|
